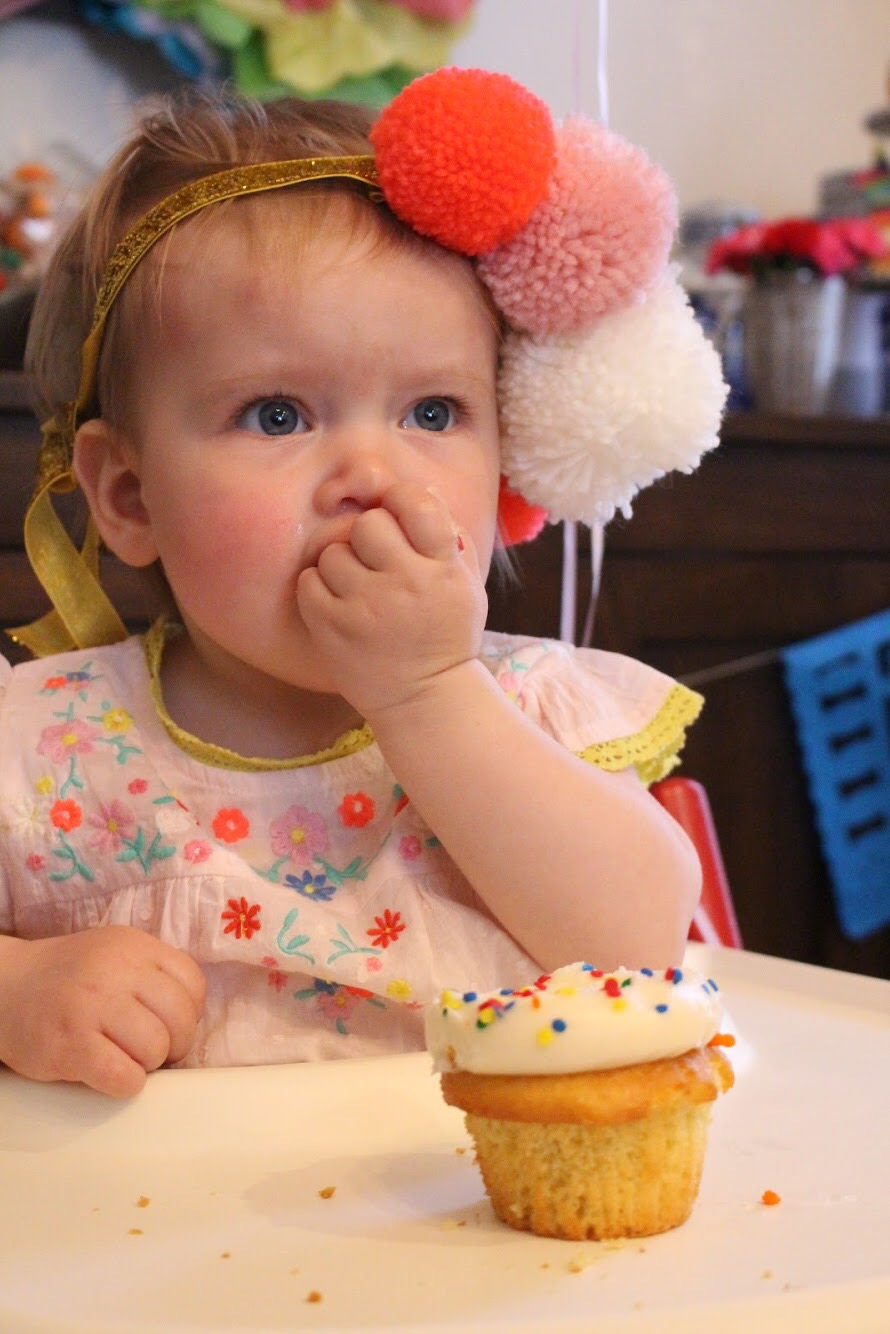
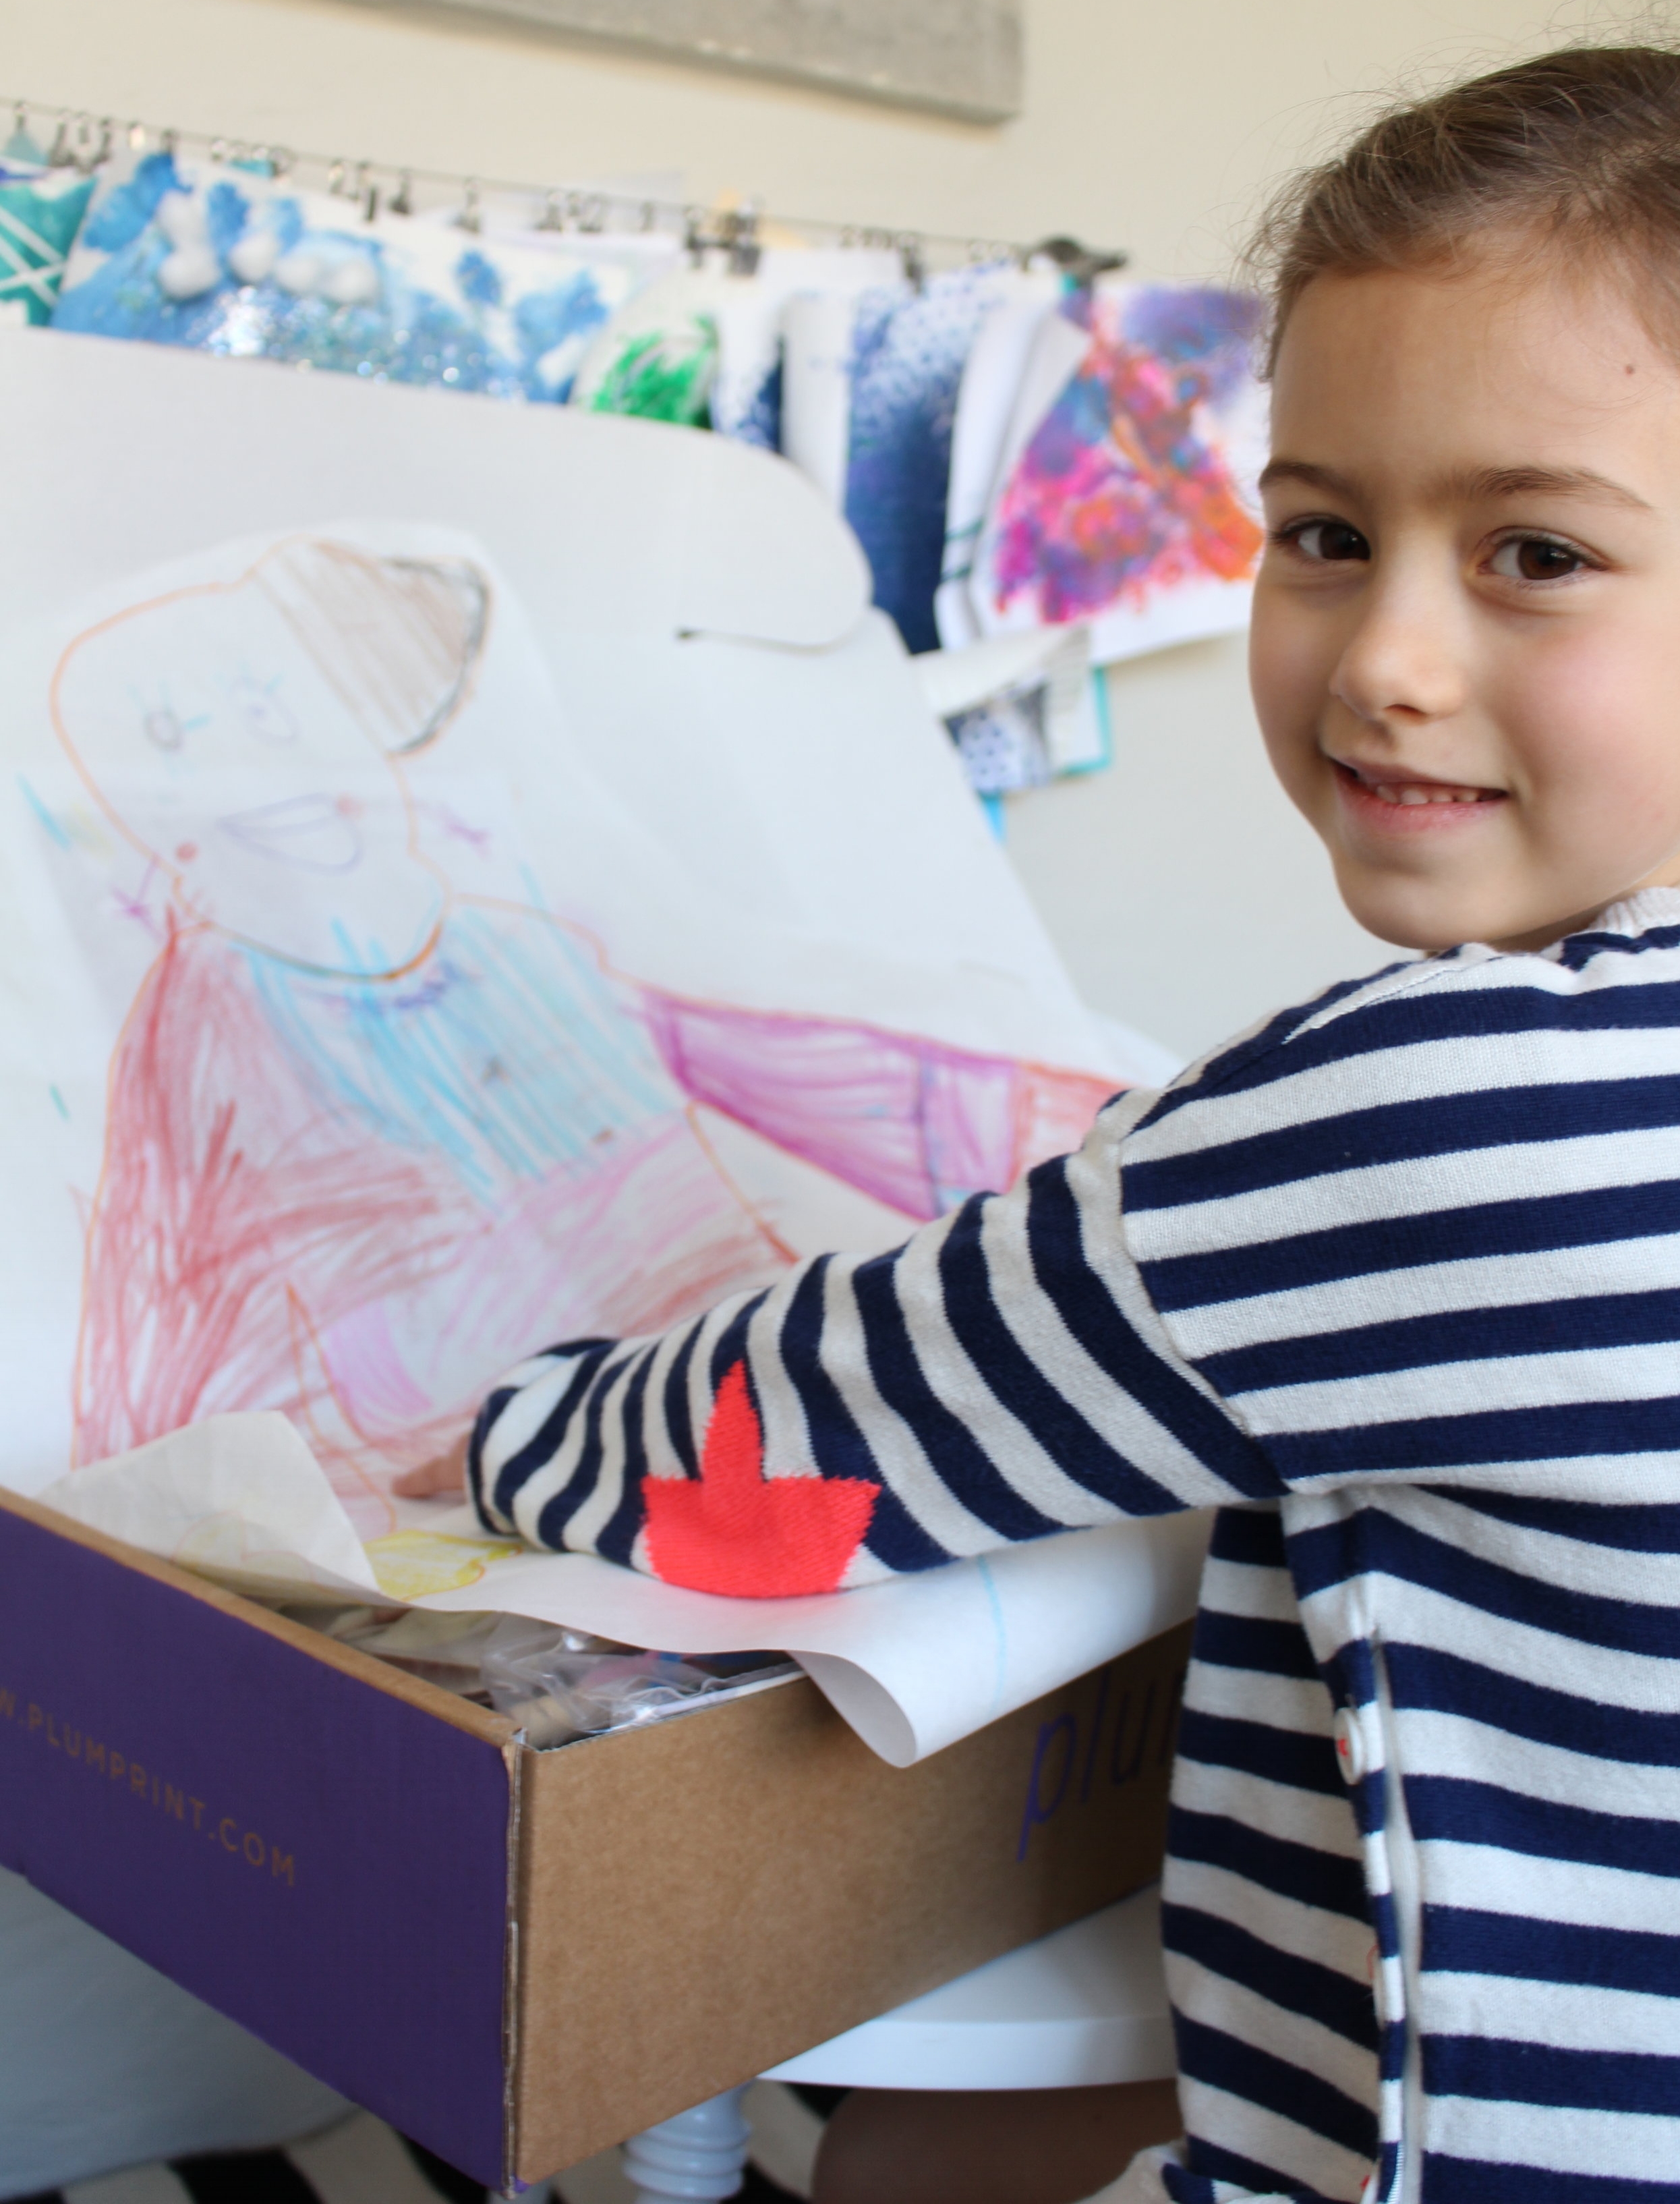
This past weekend we had our first annual “Yes Day” and by all accounts it was a success! I discovered the “Yes Day” concept by chance a year ago.
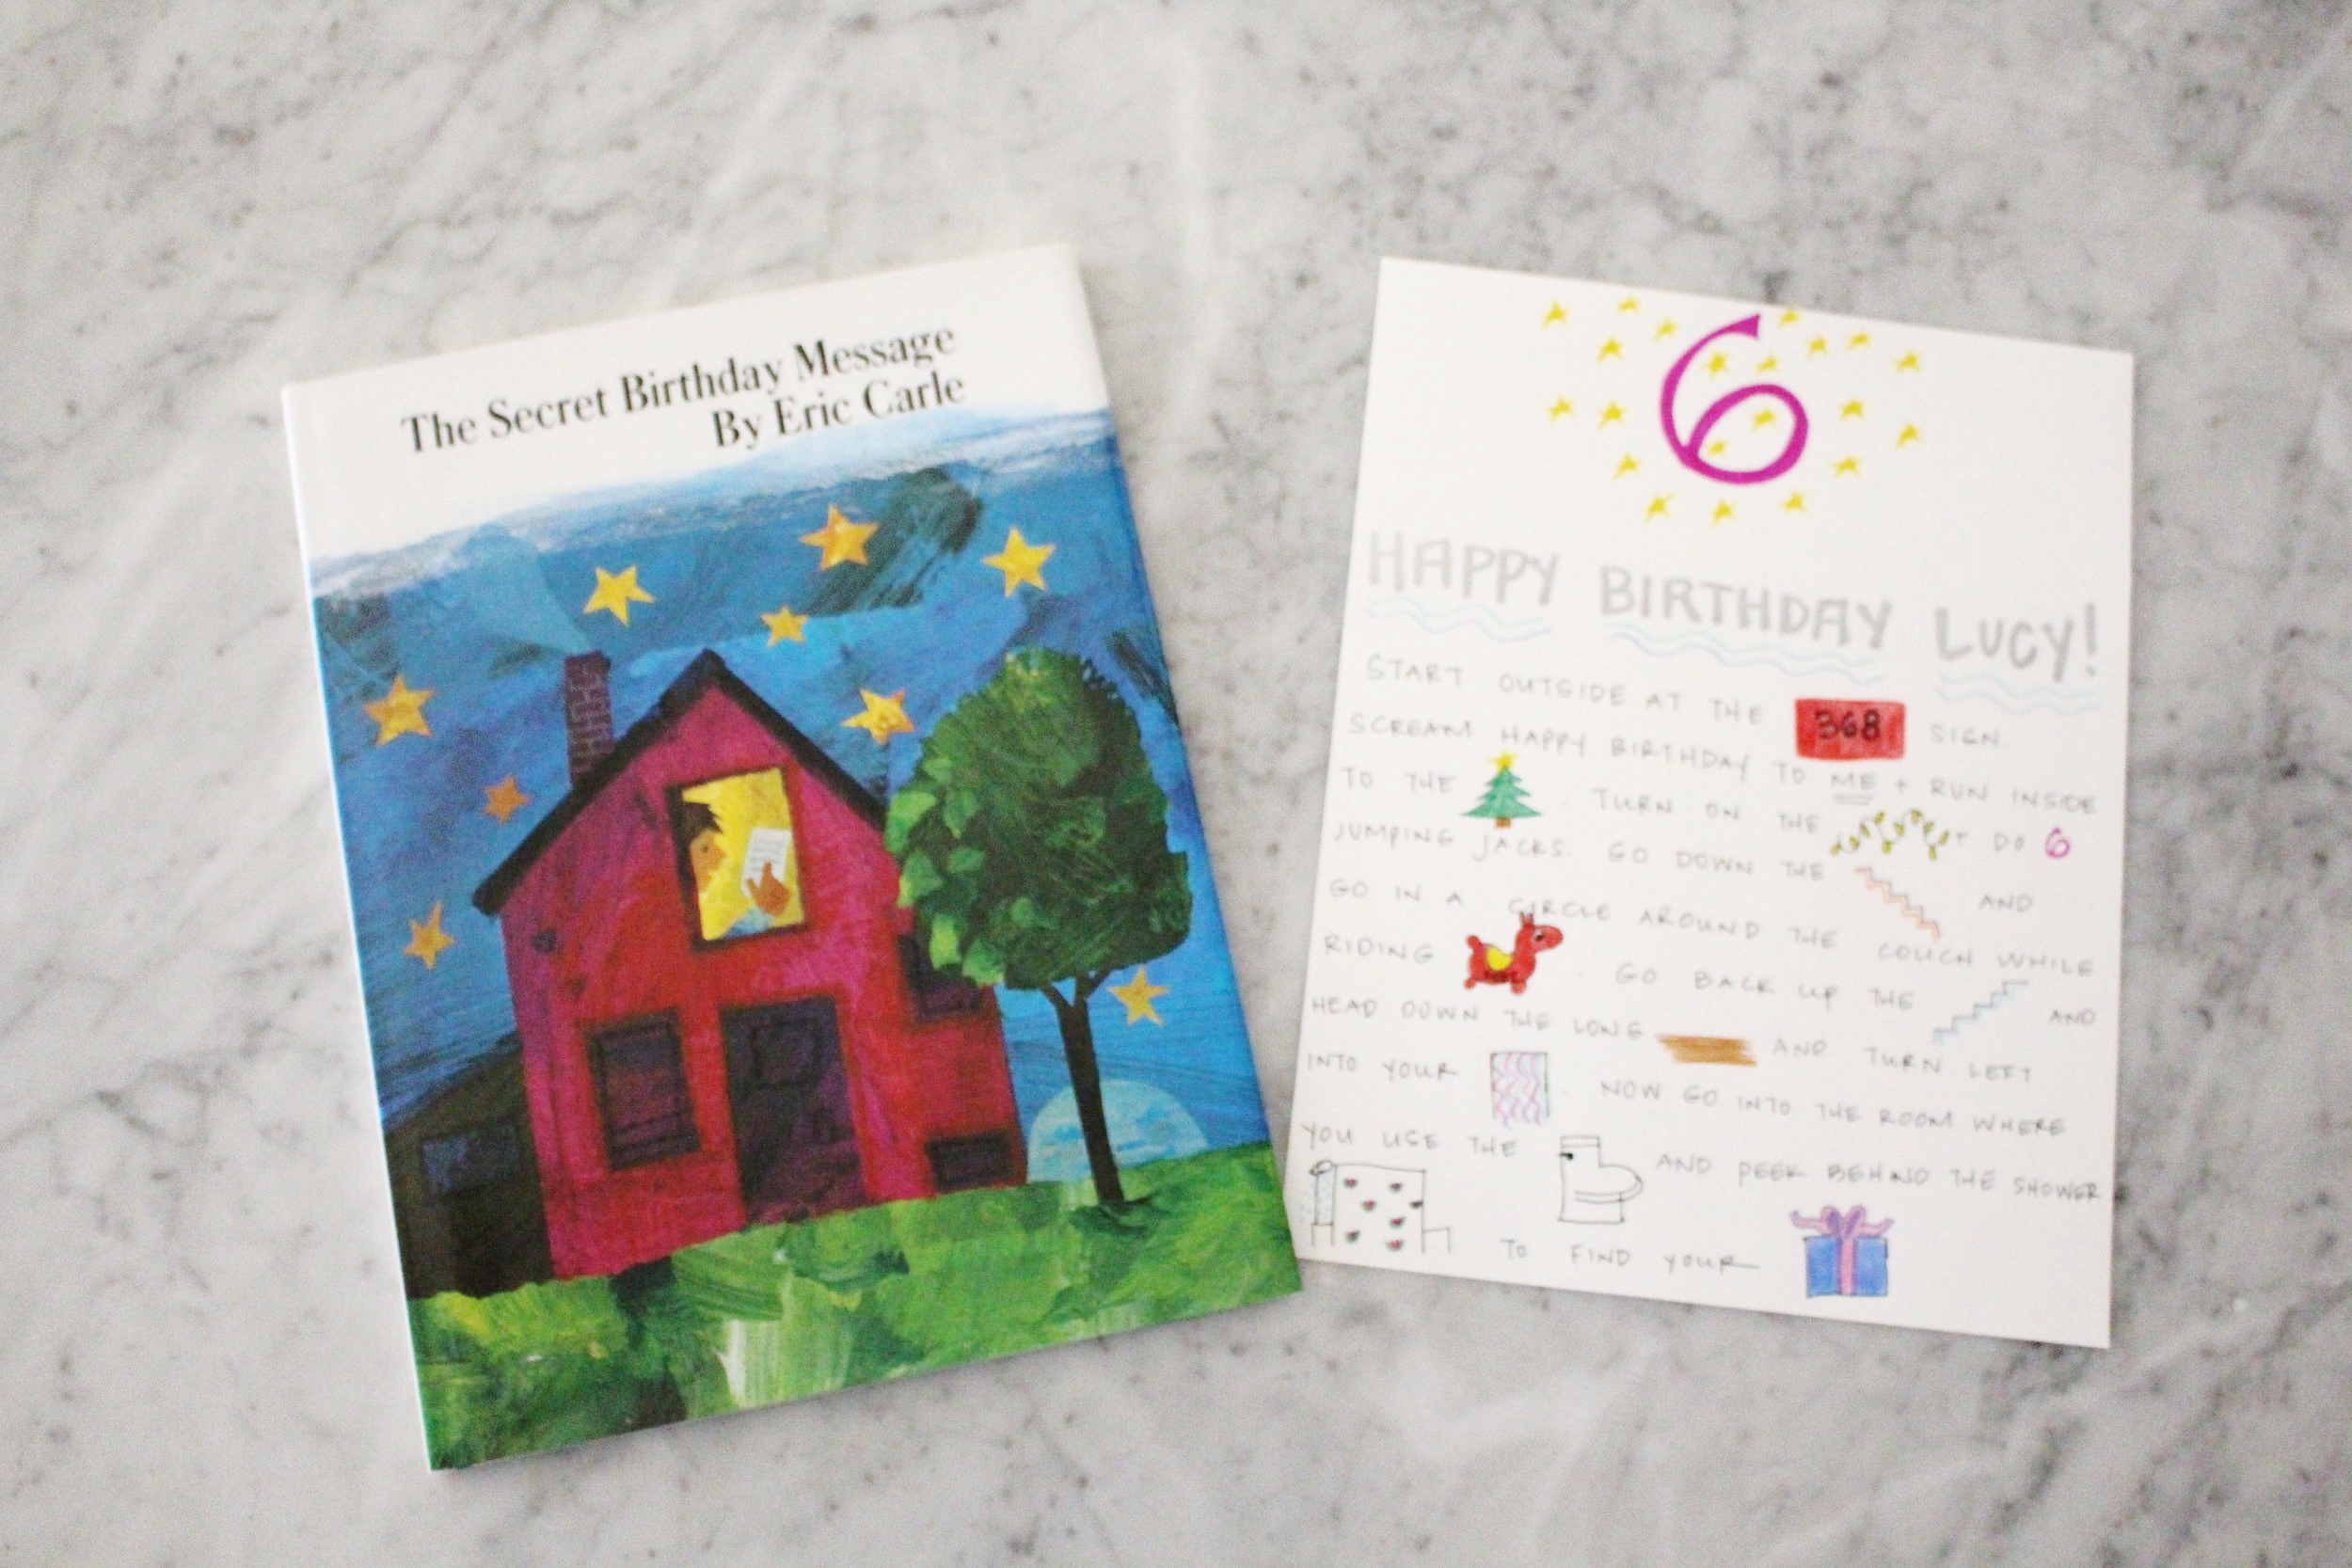
Last Valentine's Day there was a widely circulated essay about Modern Love called, You May Want to Marry My Husband published in the New York Times. The touching essay was written by Amy Krouse Rosenthal, a Chicago resident and children's book author who at the time was battling terminal cancer. Unfortunately, Amy passed away last March but I was to say the least, intrigued by her story. As an avid consumer and lover of children's books I had to check out what she had written.
After a trusty Google search or two I discovered that Amy had written dozens of books; even books that I was quite fond of such as Little Pea and Uni the Unicorn. There were however, plenty of new ones to discover including a book called, Yes Day! authored by Amy and Tom Lichtenheld. I quickly ordered Yes Day! a genius book about a day in which once a year a little boy gets to ask his parents for exactly what he wants and they can't say NO! I mean this concept is so simple yet so creative - it’s genius! What kid doesn’t want to feel like they have some control over their parents? Once the book arrived I stashed it in the closet waiting for an appropriate time to introduce it to our kids.
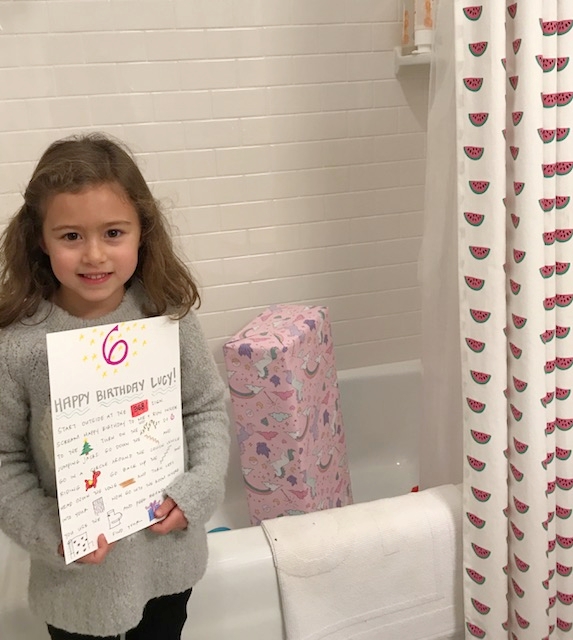
After a few months I started to think that our oldest two children would dig a “Yes Day”. They had been battling cabin fever due to illness and frigid temps and most days we keep them on a strict schedule. Our 3 year old is at the point, where he frequently asks, "Daddy, why do you always say No, No No? Why don't you say Yes, Yes, Yes? Yikes! To be fair most of the time we say NO to keep our energetic son from injuring himself but his point has been taken. Loud and clear. We need to slow down and have some fun! This past weekend I knew was going to be relatively unscheduled so on Thursday night I warned my husband about Saturday's plans and on Friday night I introduced the book. After reading the book, I asked our kids if they would like a “Yes Day” to which they eagerly answered YES and from then on you could just see the ideas spinning in their heads.
So what you ask, did our kids ask to do on “Yes Day”? Well, they both woke up at 6am eager to get started...read below for a sampling of our day.
- Can we watch the iPads? YES
- Can we watch the iPads for an hour? YES
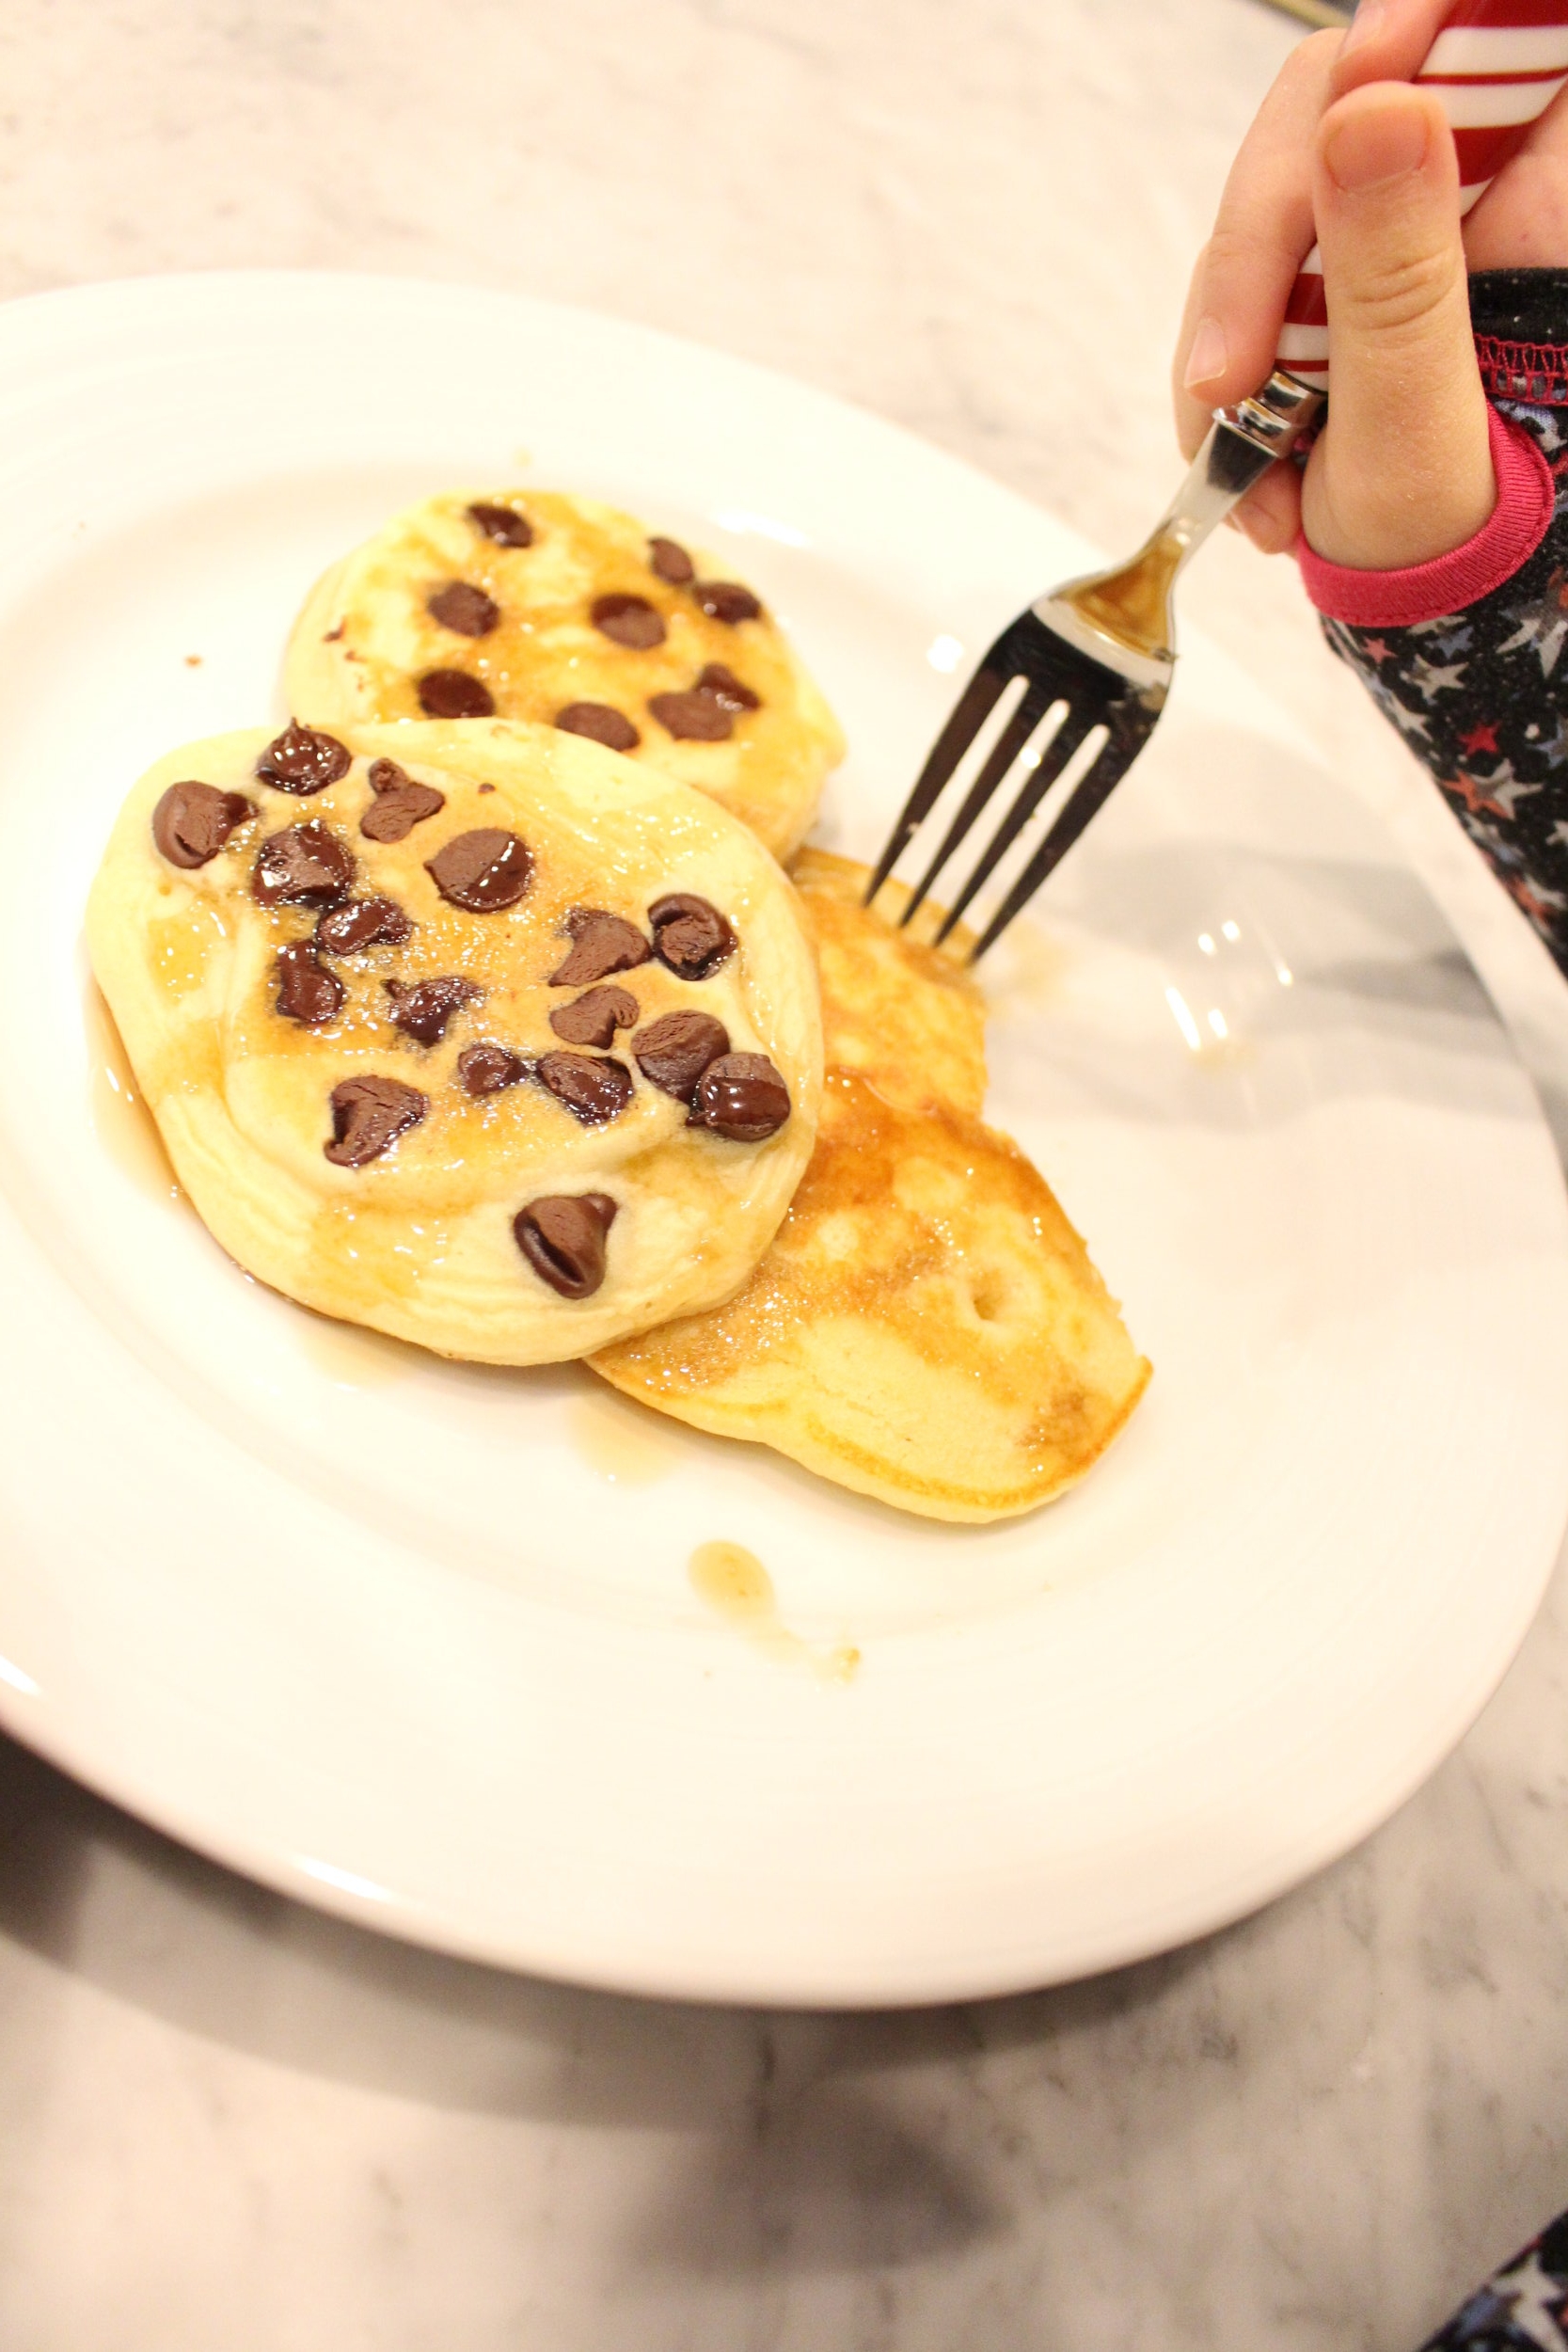
- Can we have pancakes for breakfast? YES
- Can the pancakes have chocolate chips in them? YES
- Can I pick out my own clothes? (Very important to our daughter) YES
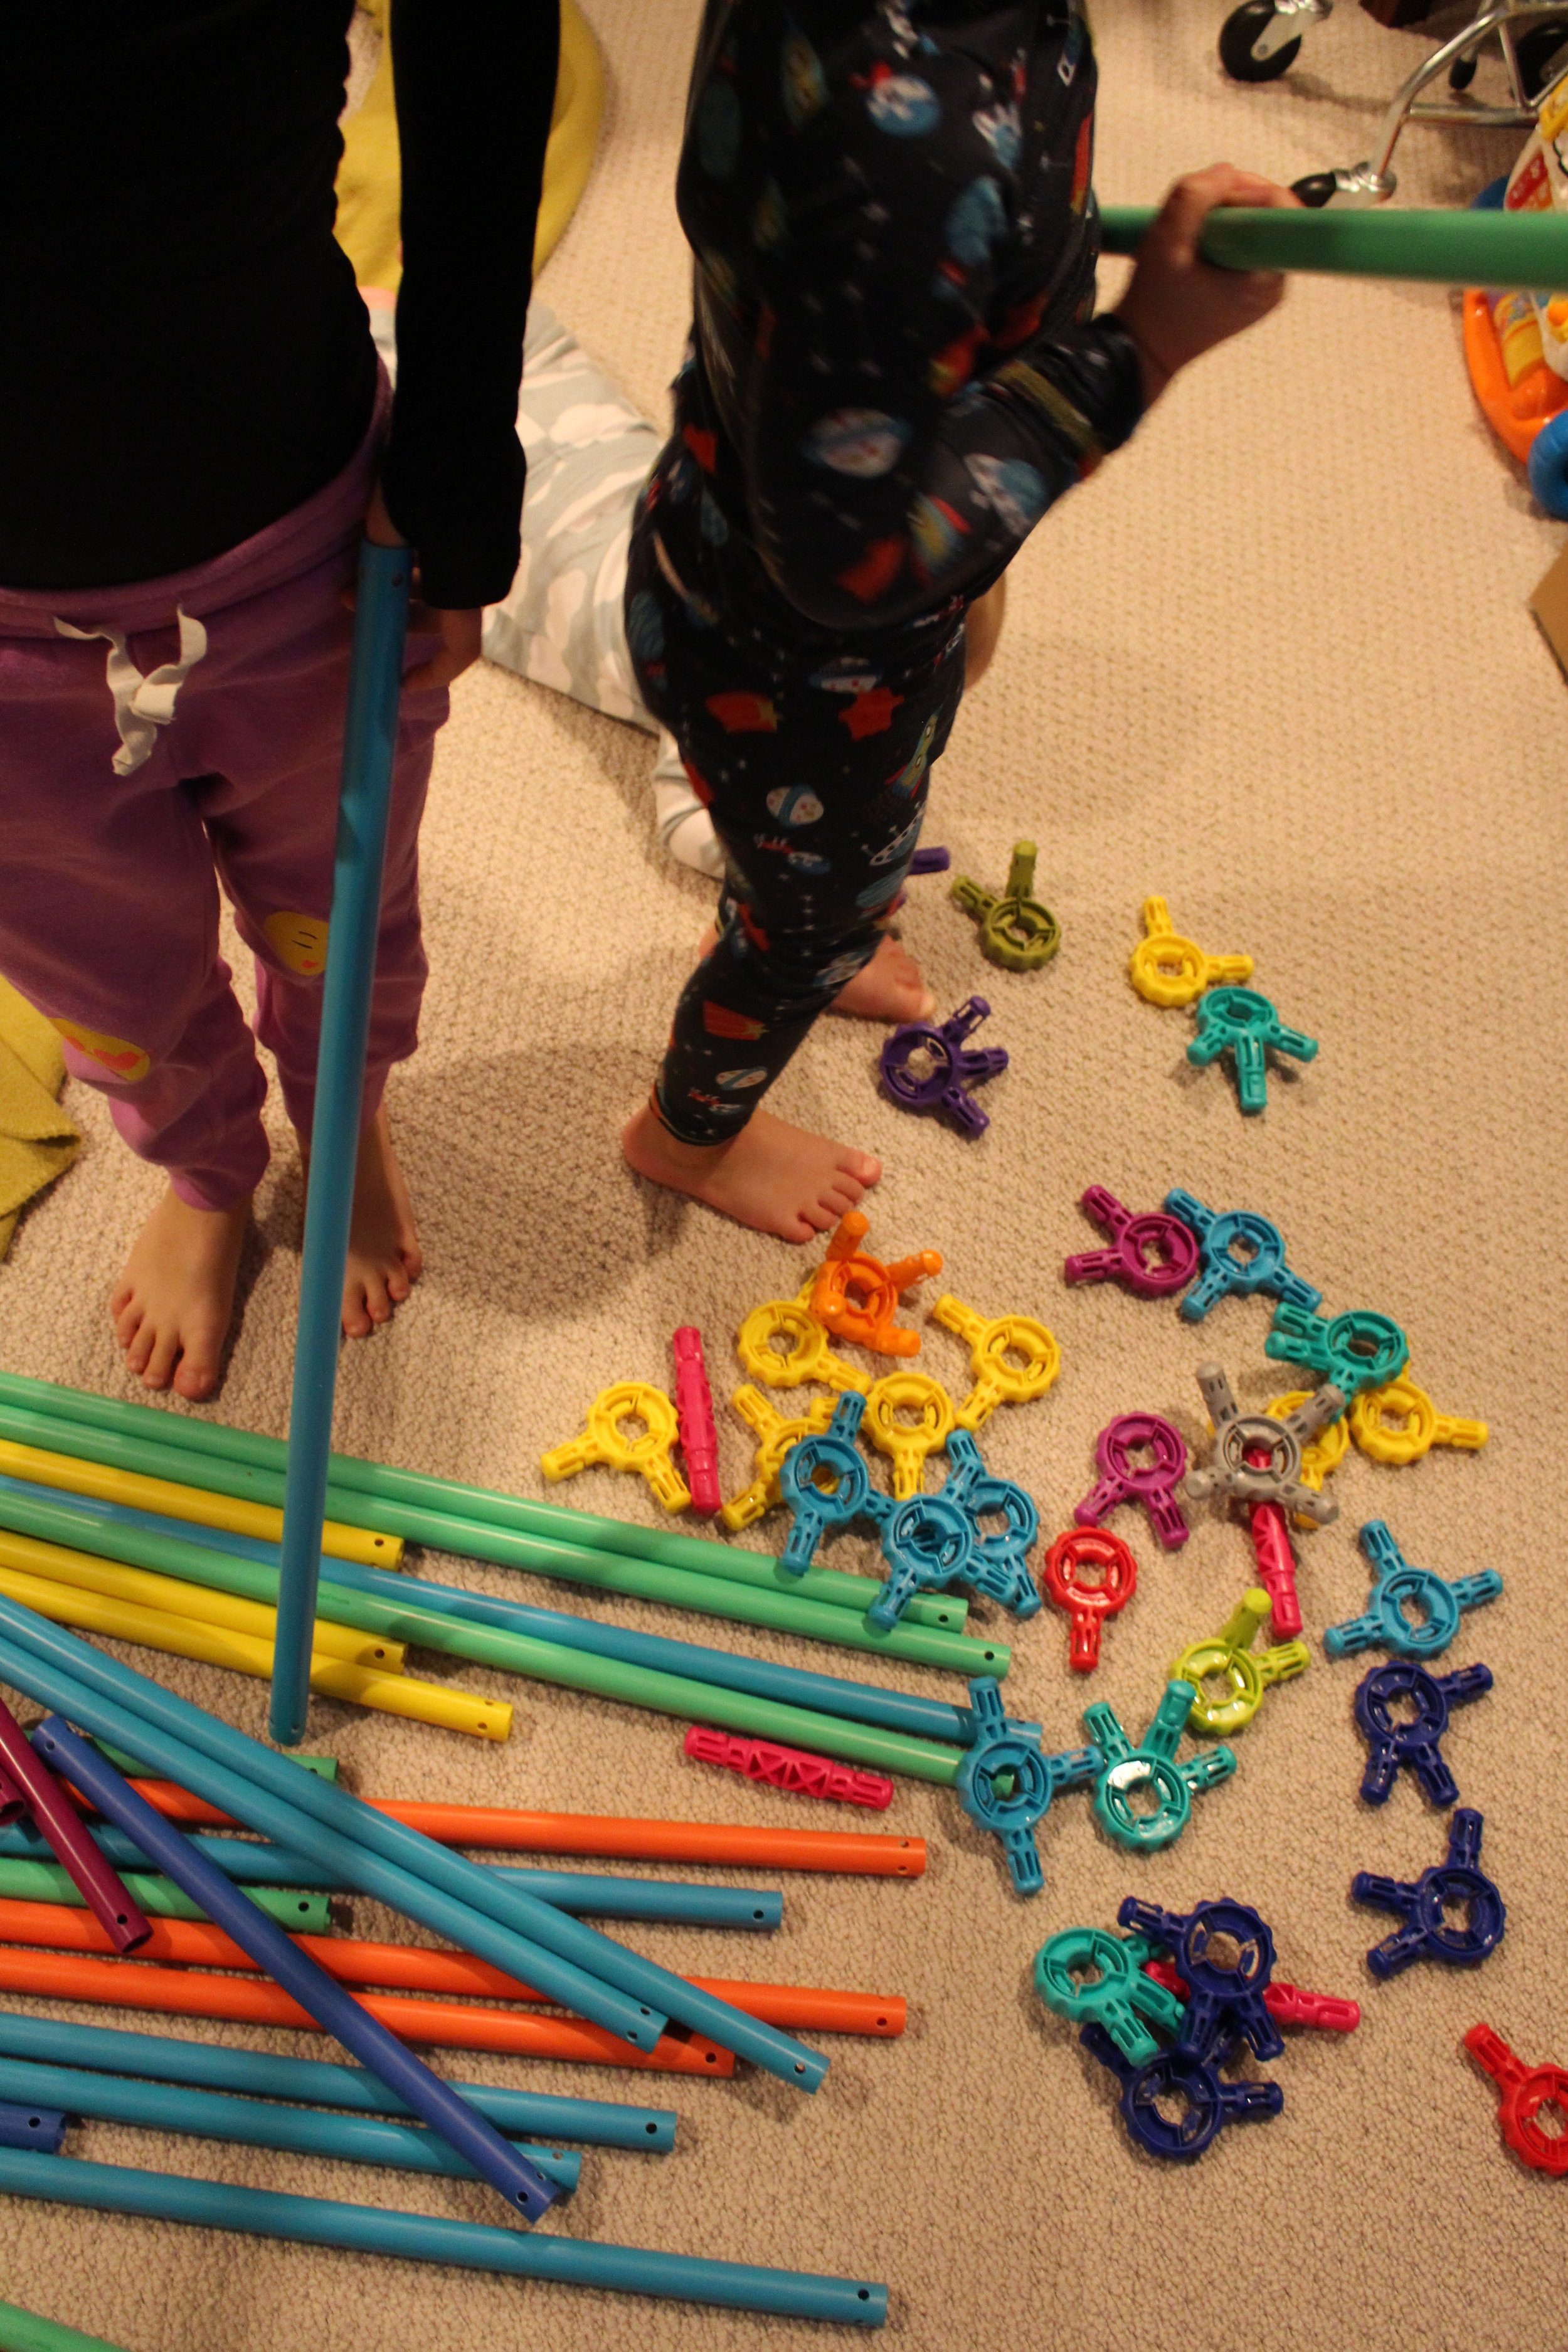
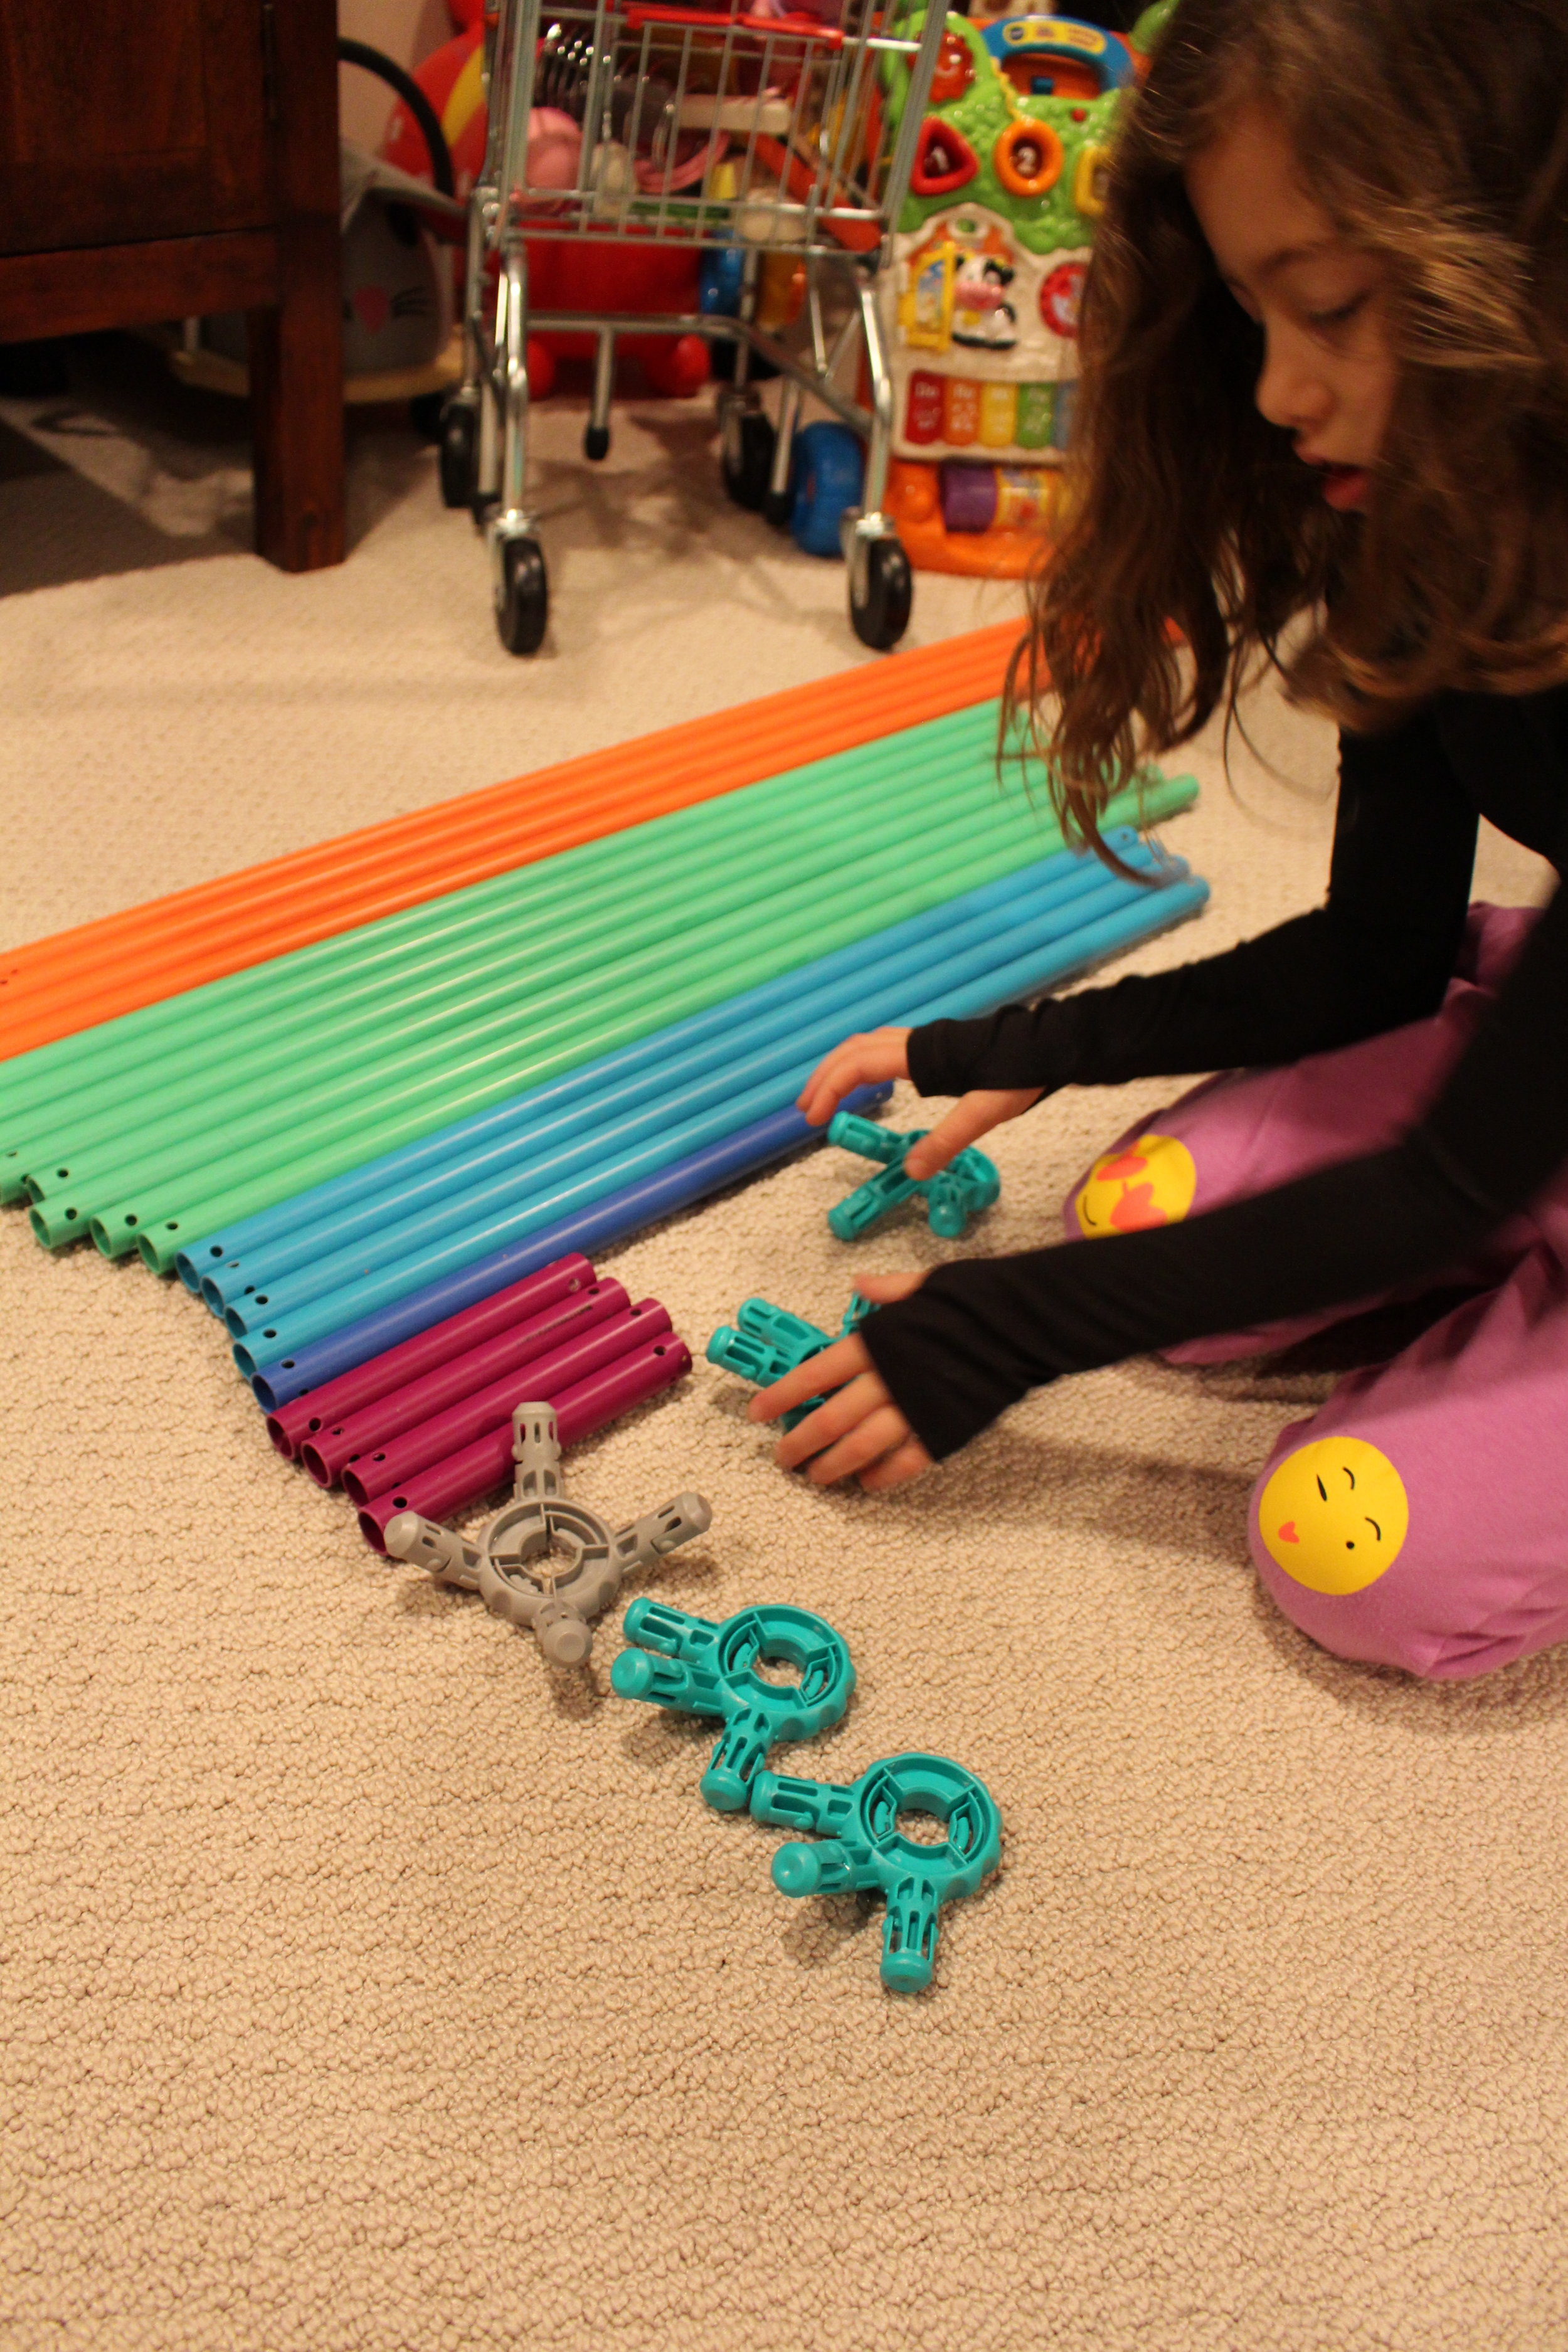
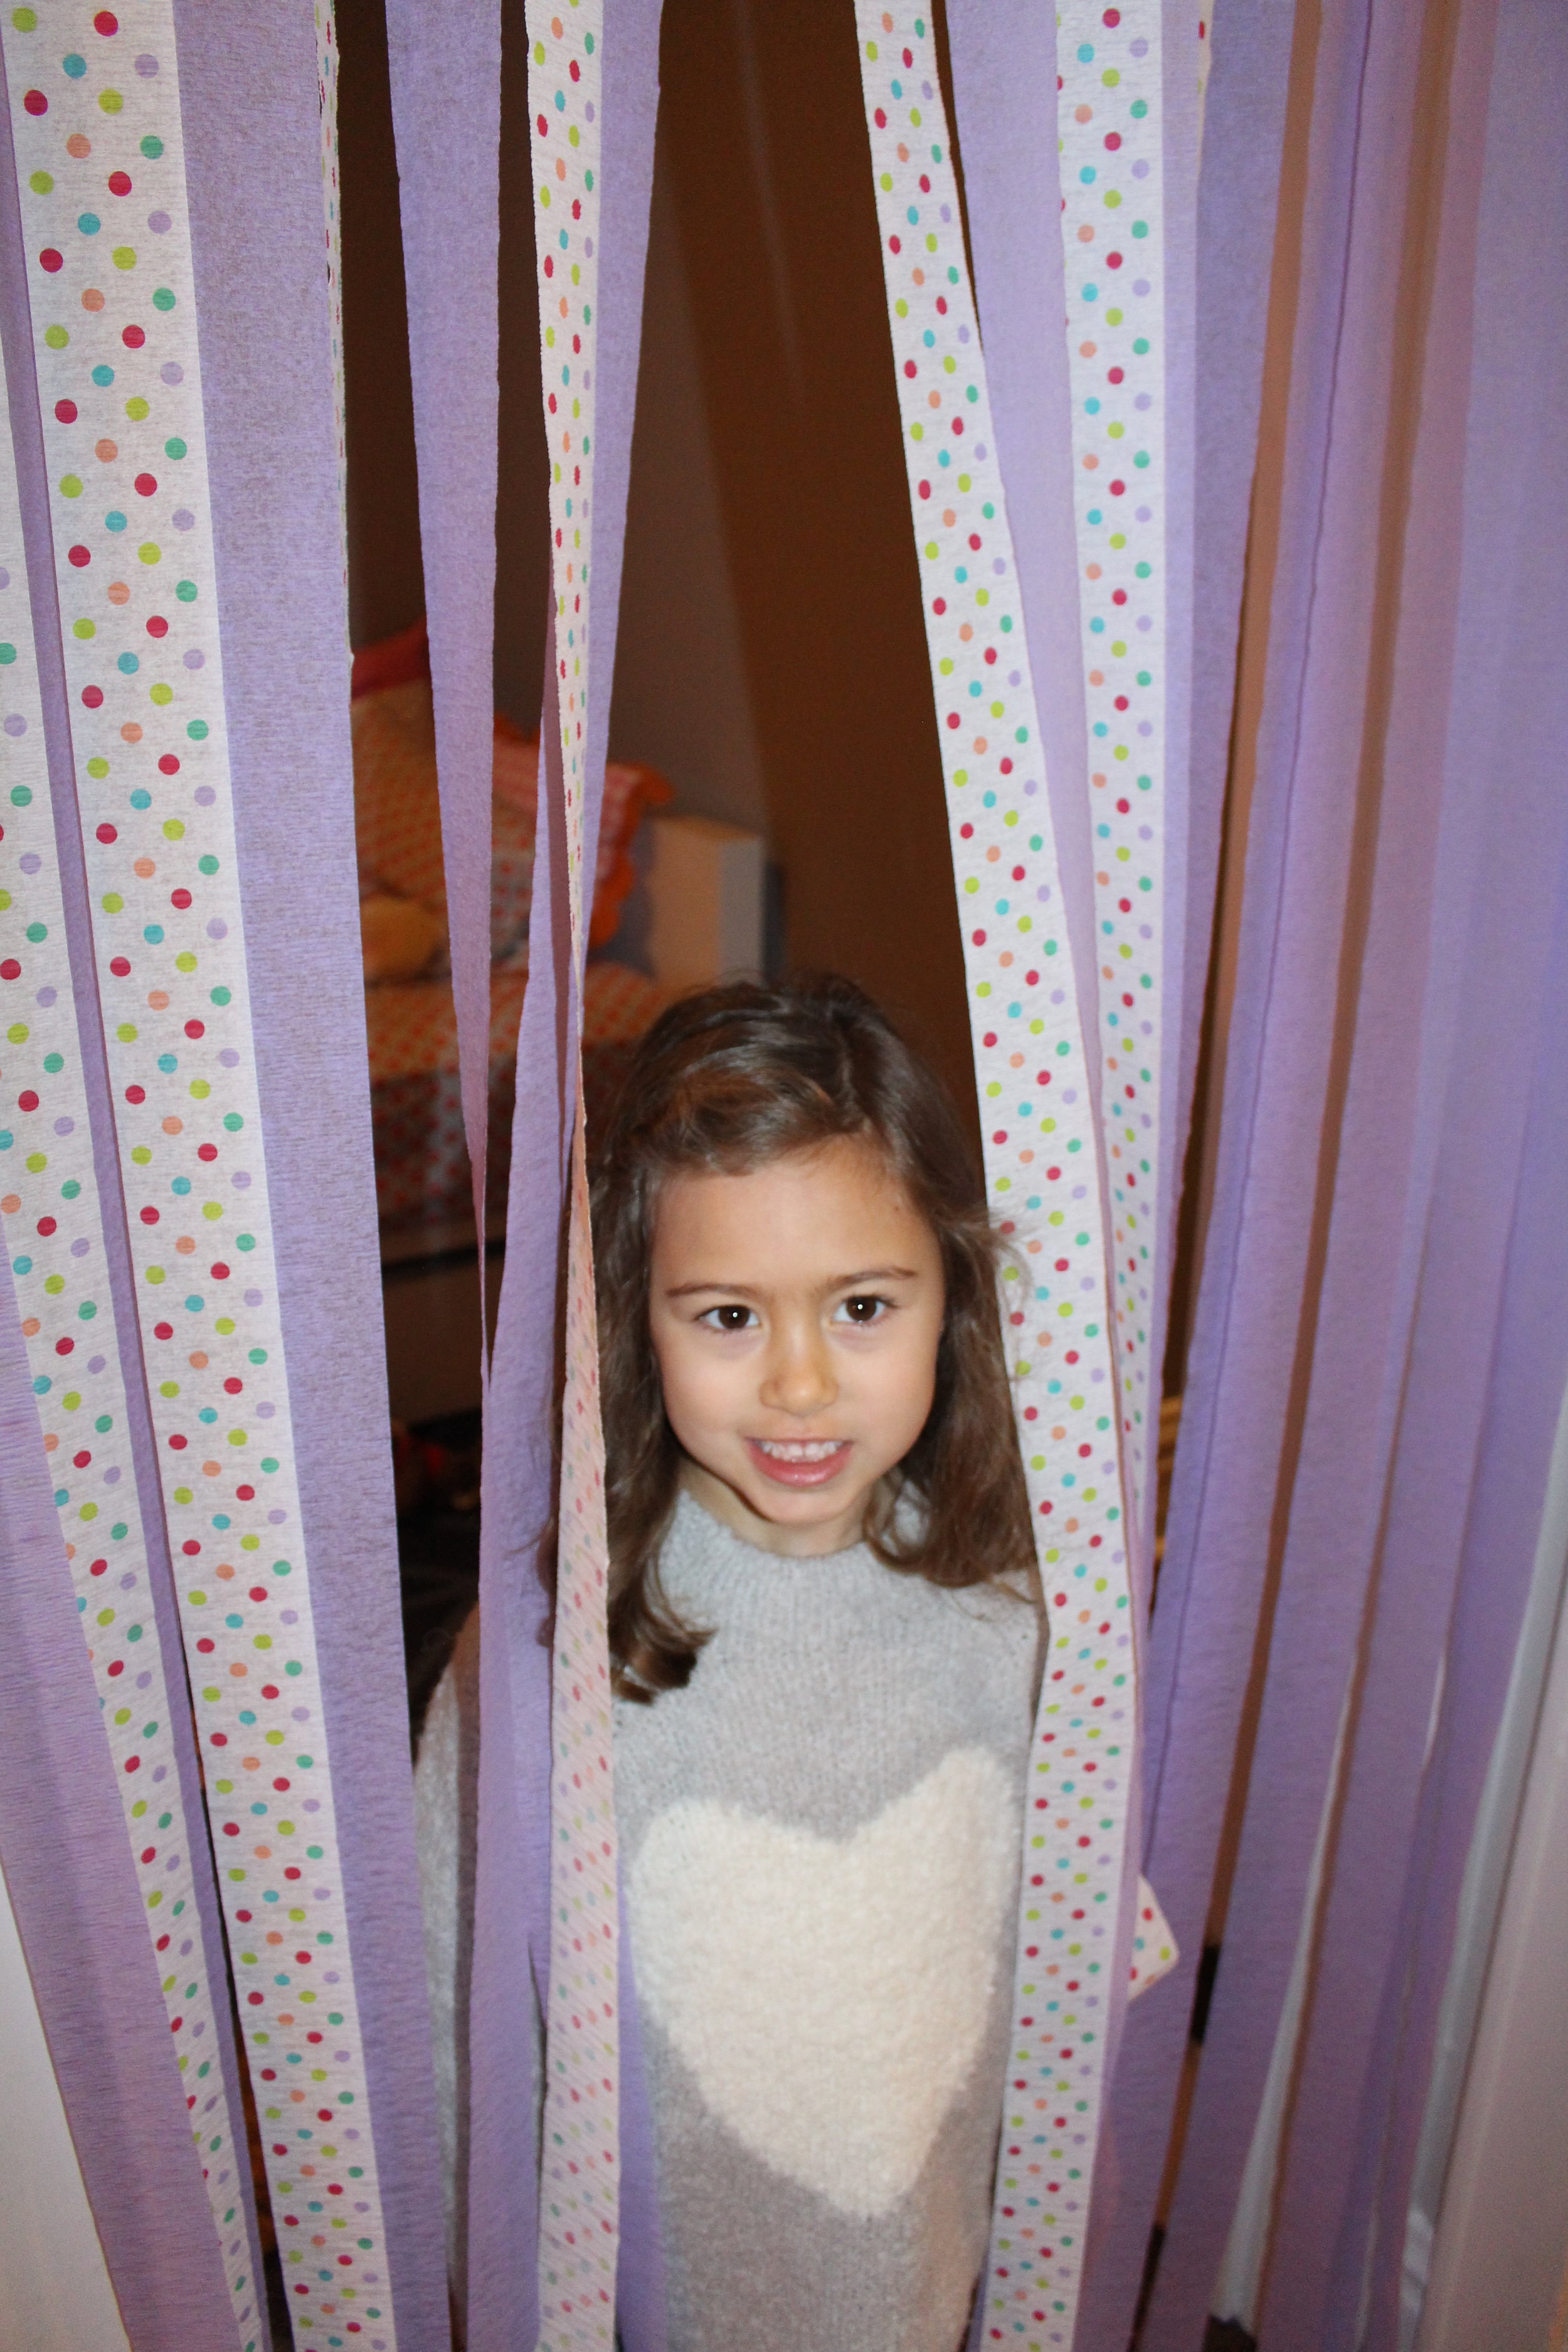
- Can we build a fort? YES
- Can we keep the fort up? YES
- Can we pick up our toys later? YES
- Can we have lollipops? YES
- Can we go to the park in our old neighborhood? (It was freezing) YES
- Can I have cantalopue and ketchup for lunch? YES
- Can we have smoothies at Whole Foods? YES
- Can we play video games in the arcade? YES
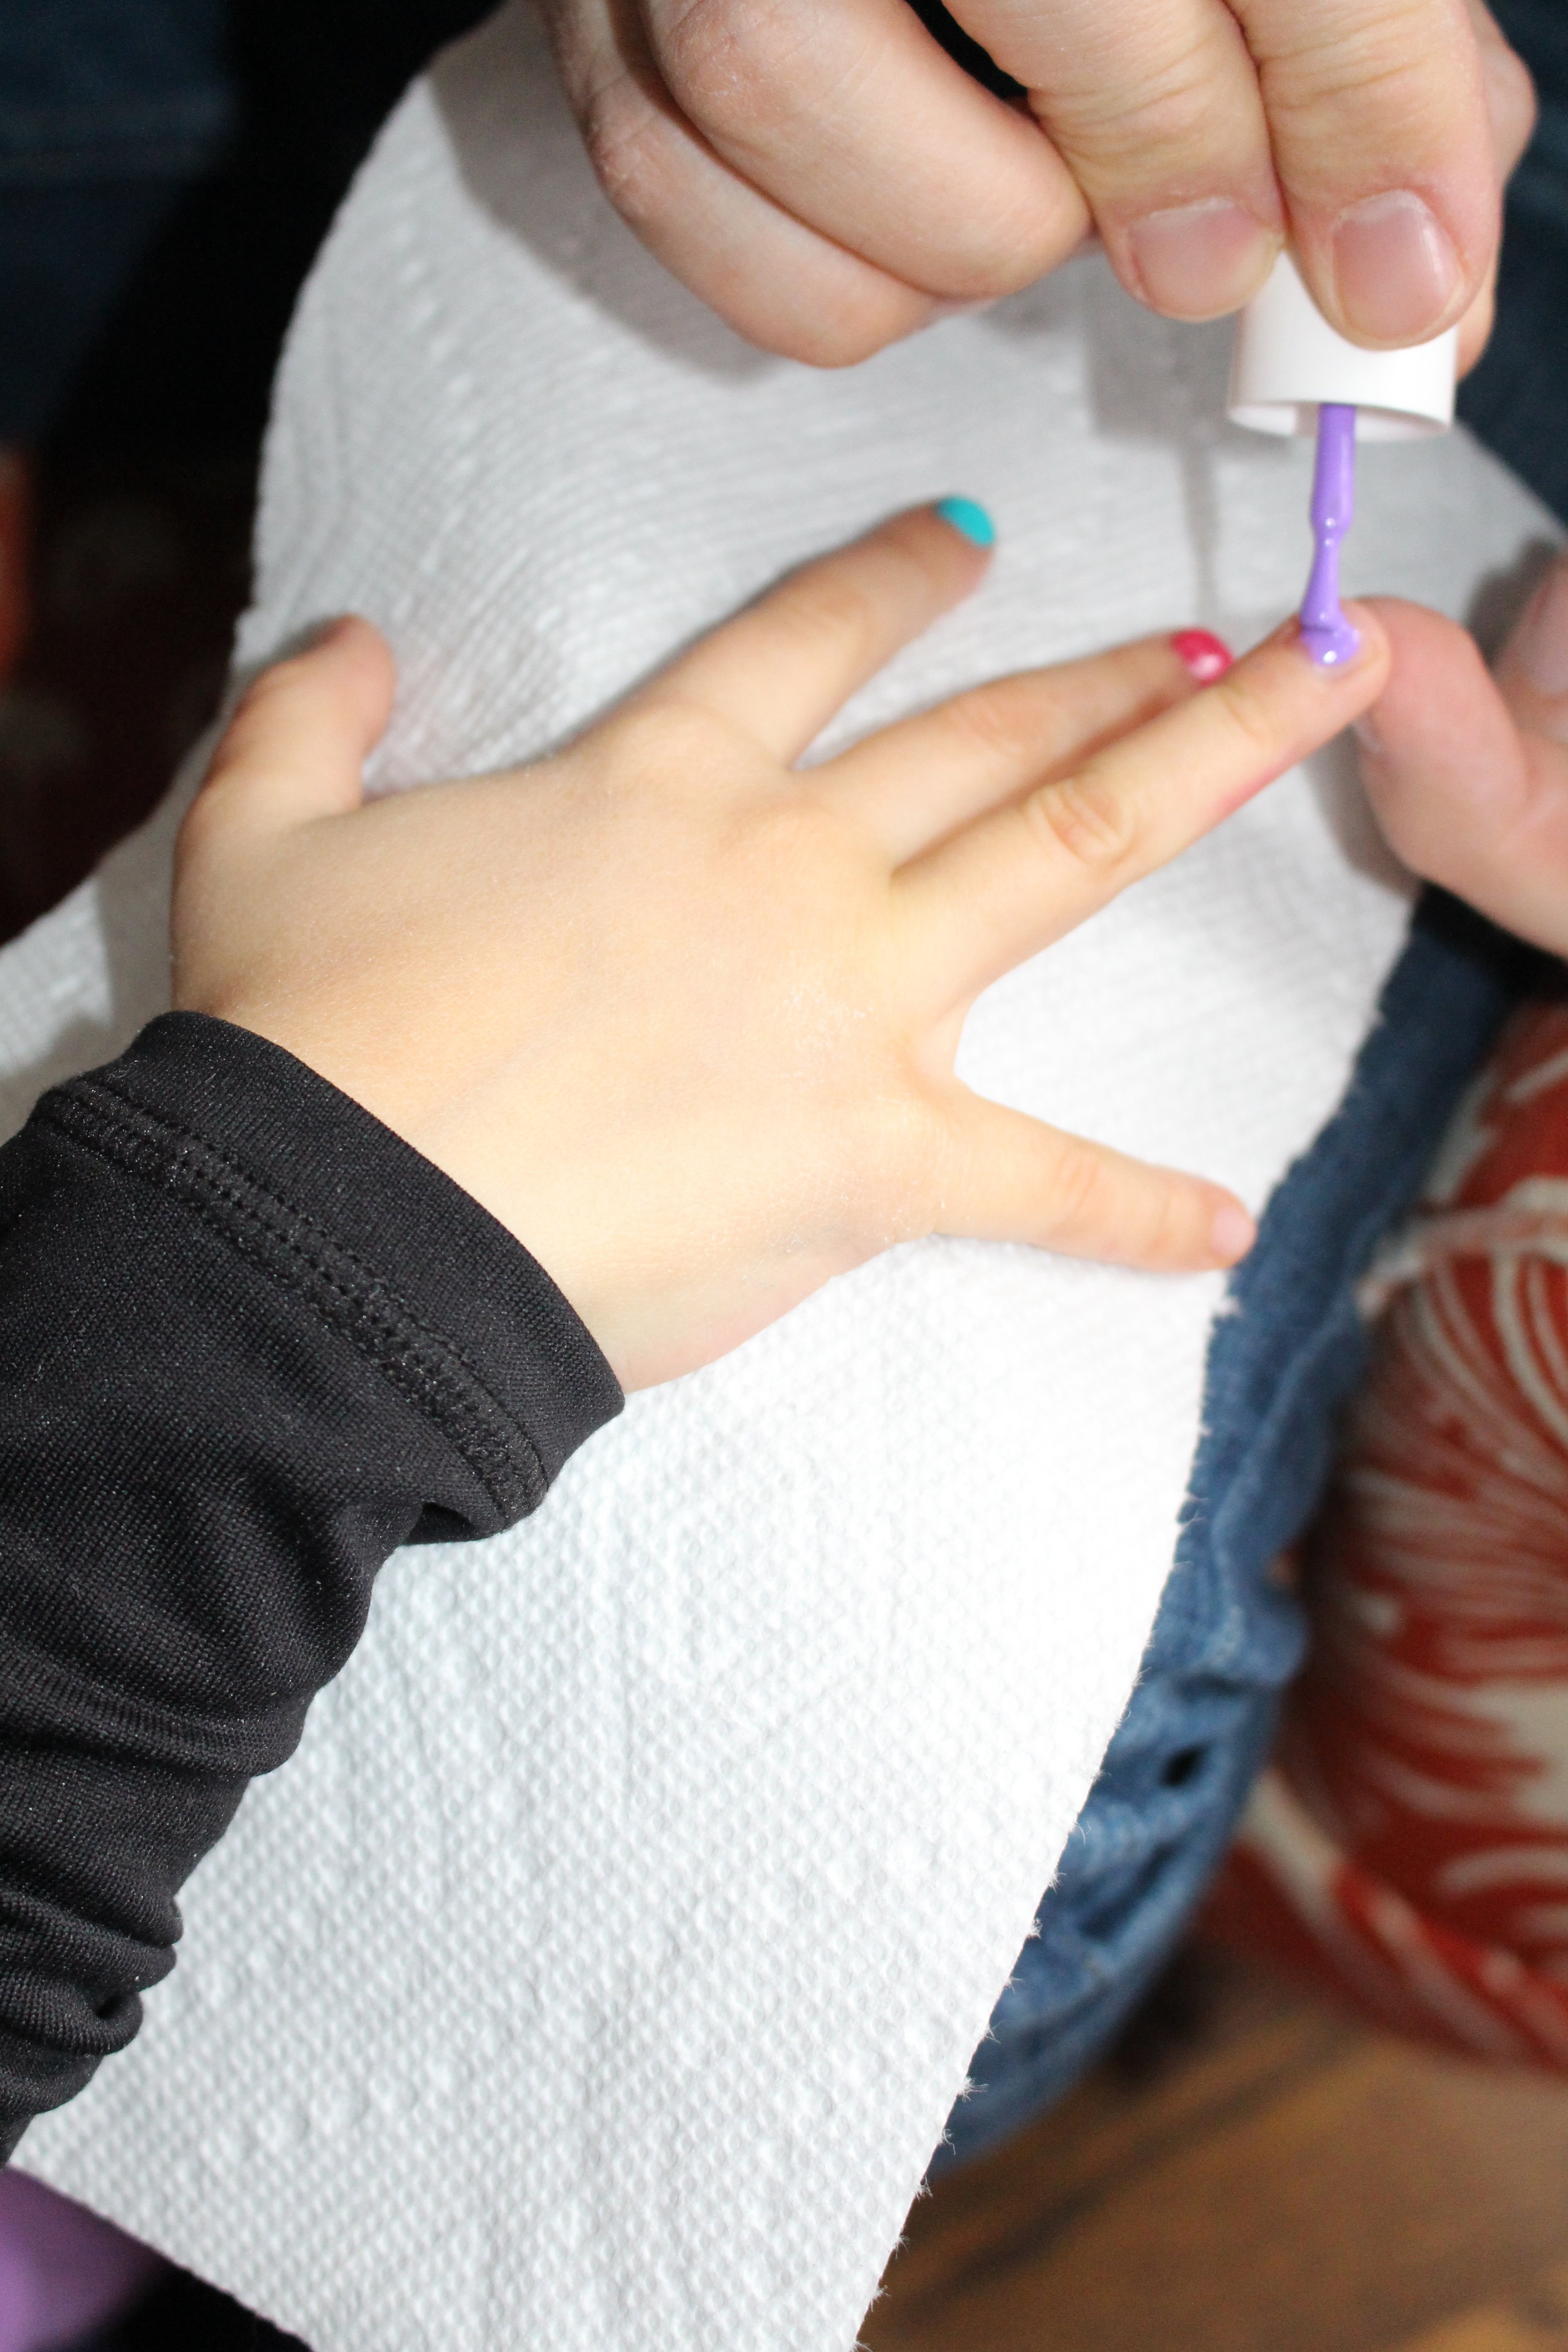
- Can you paint my finger nails? YES
- Can we play a board game? YES
- Can we make banana bread? YES
- Can we take the El train to get ice cream before dinner? YES
- Can we watch a movie while eating dinner? YES
- Can we stay up late? YES
- Can I sleep in my sleeping bag? YES
I will be the first to admit that “Yes Day” is fun but exhausting! Our kids have endless amounts of energy however, I’m grateful that for our first “Yes Day” they came up with a very attainable wish list. For the most part their desires revolved around sugary treats and not cleaning up. In a few years I can imagine that their ideas will become much more elaborate. One thing that I didn’t expect was how challenging it was going to be to not say NO! I really made a conscious effort to do this , rather I thought more about the words I used especially if they wanted to do conflicting things. I fear I use the word NO far too often - I sometimes wield it like a weapon (to protect my sanity). But the more I think about it from a child’s perspective being a grown up is like having a “Yes Day” every day. I can for the most part say YES to whatever I want besides all of those adult responsibilities but my children won’t grasp that concept for years.
In the end the kids had a wonderful day, we started a new tradition and my husband and I albeit, sleepy gained some insight. The word NO is an extremely powerful word and children don’t yet understand the reasons behind the usage. It was almost freeing to say YES to them and if we use the word NO a little less often and give our children the option to chose for themselves this will help empower them and give them the confidence to make sound decisions (hopefully) into their adult lives. But baby steps...screen time will still be limited and we will not be eating ice cream before dinner at least, not until the next “Yes Day”!